Far-field Voice Assistant#
Overview#
These are the XCORE-VOICE far-field voice assistant example designs demonstrating:
2-microphone far-field voice assistant front-end
Audio pipeline including echo cancelation, interference cancelling and noise suppression
Stereo reference input and voice assistant output each supported as I2S or USB (UAC2.0)
This application can be used out of the box as a voice processor solution, or extended to run local wakeword engines.
These applications features a full duplex acoustic echo cancellation stage, which can be provided reference audio via I2S or USB audio. An audio output ASR stream is also available via I2S or USB audio.
Example designs#
USB Audio Demonstration#
Direct connection over USB to the host PC allowing signal analysis and evaluation.
Requirements
XK-VOICE-L71 board
Powered speaker(s) with 3.5mm jack connection
Host system running Windows, macOS, Linux or Android
USB A to Micro cable for connection to the host
Hardware Setup#
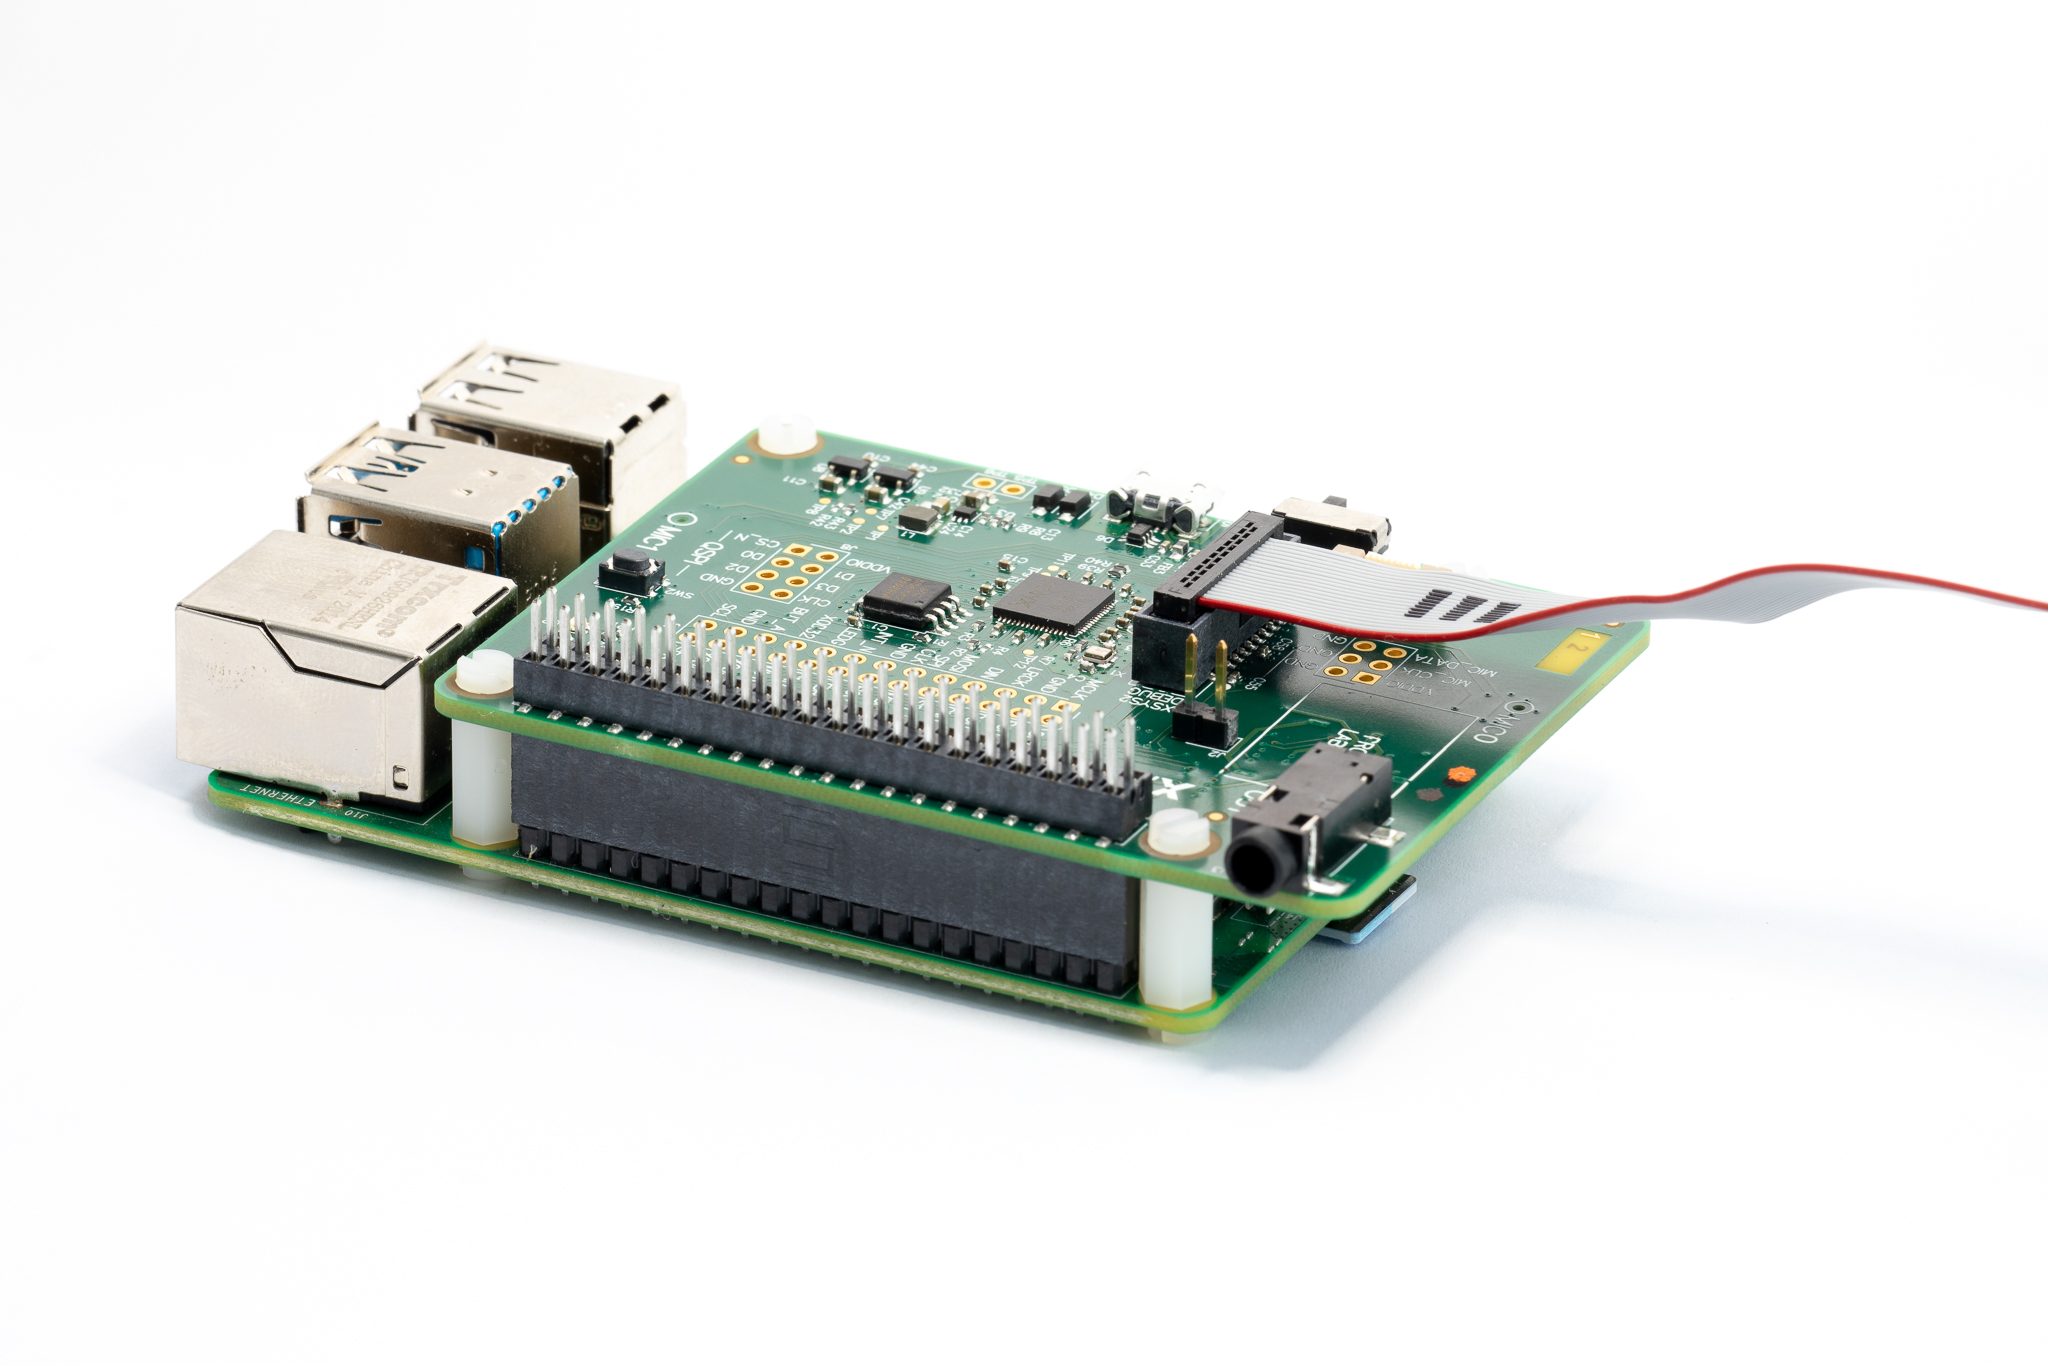
Connect either end of the ribbon cable to the XTAG4, and the other end to the XK-VOICE-L71 board as shown (Image shows piggybacked connection to RPi. Standalone operation is also supported):
Running the Demonstration#
Configure the Hardware#
Connect the host system to the micro-USB socket, and the speakers to the jack plug as shown:
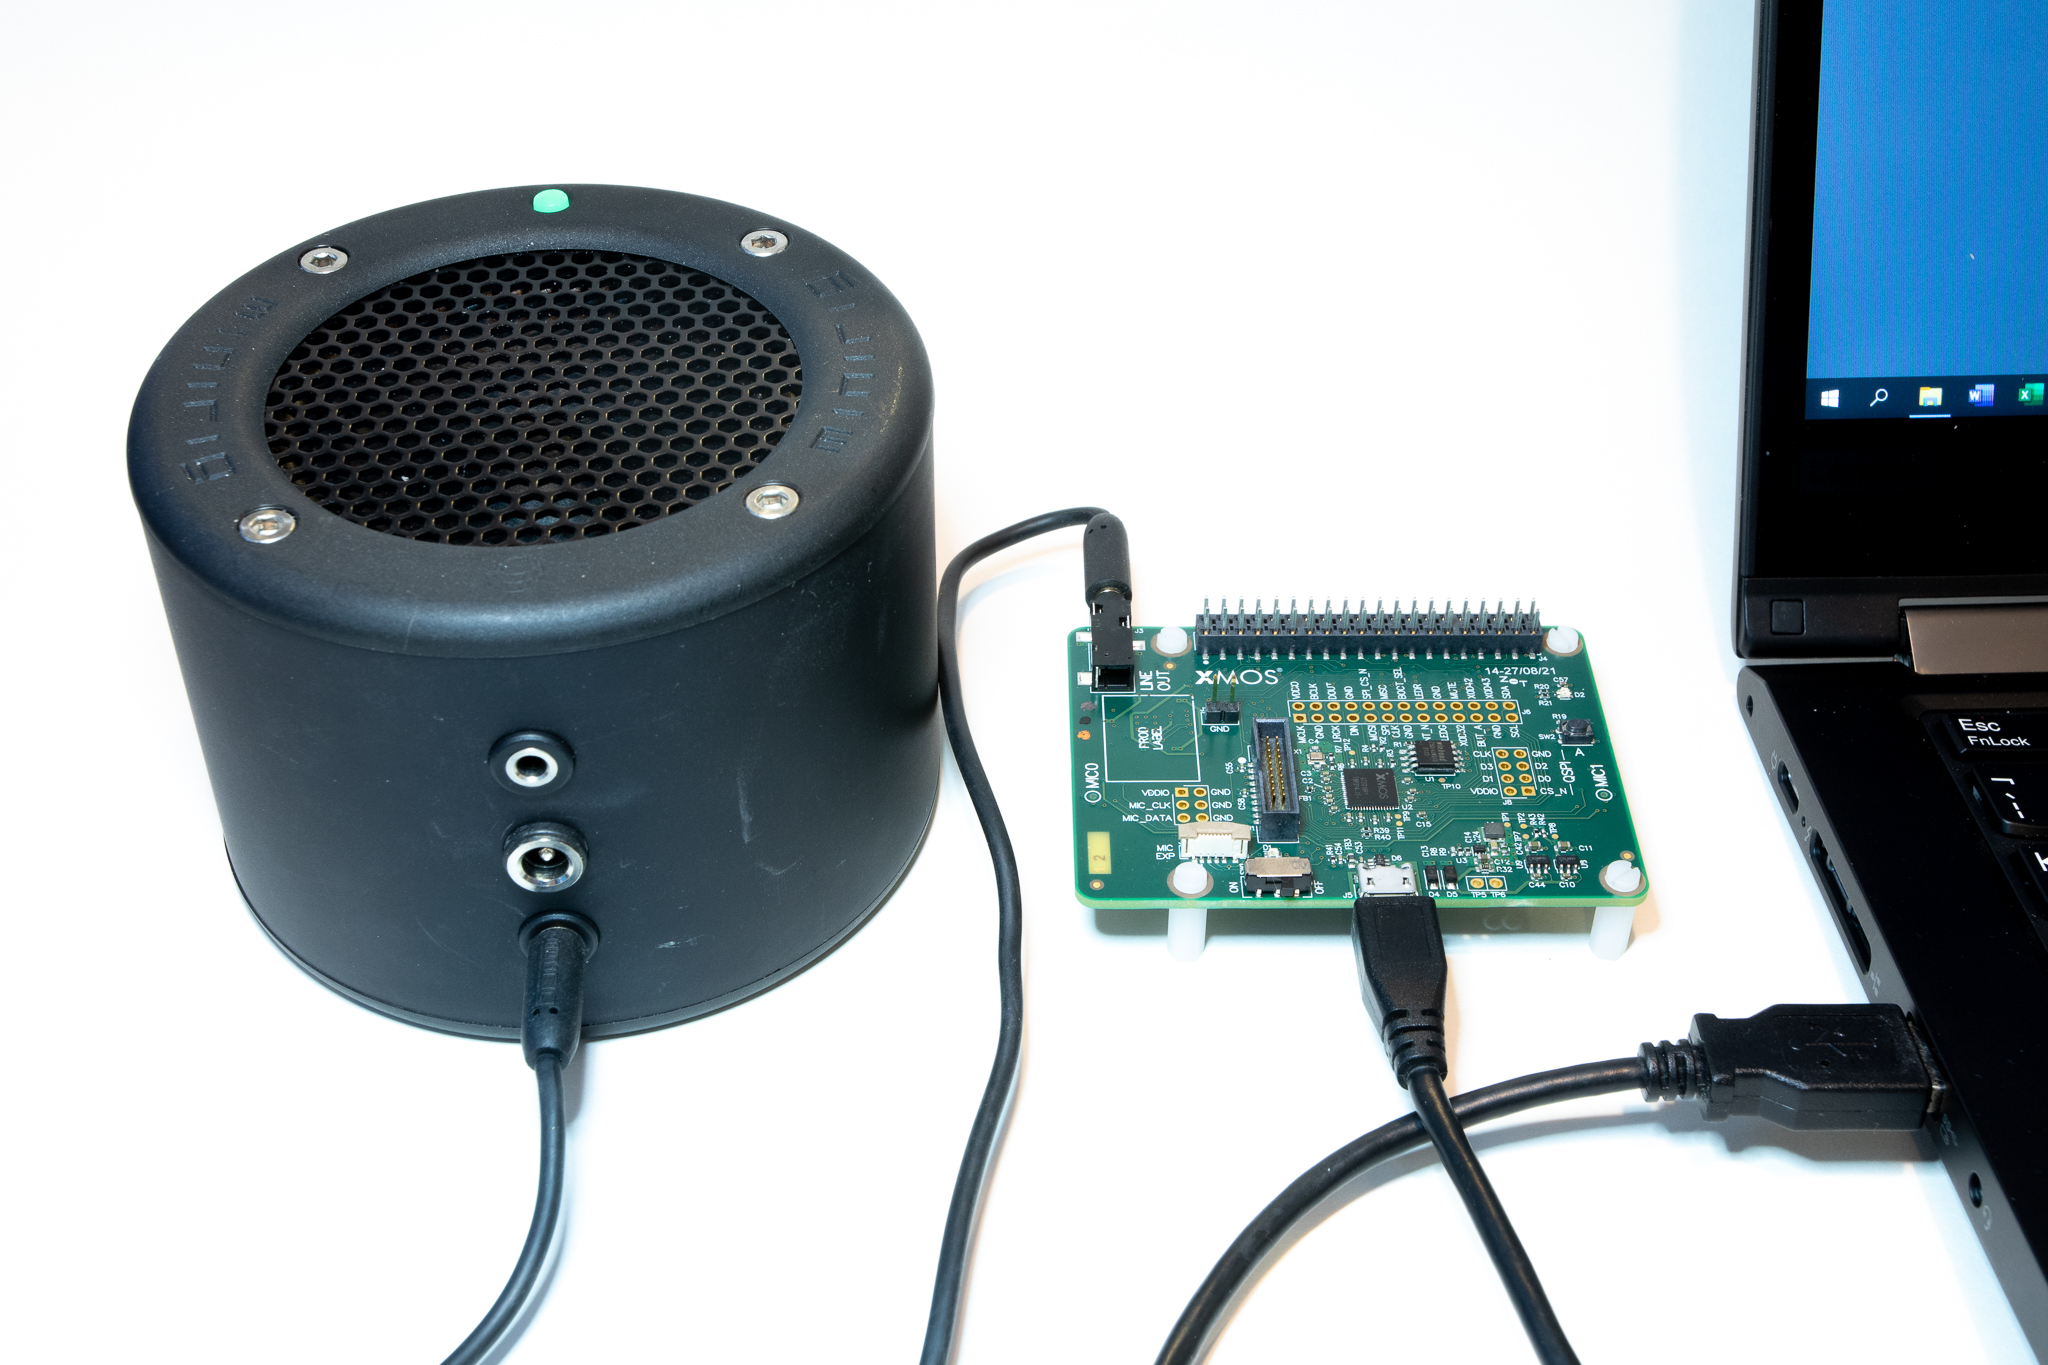
Either mono or stereo speakers may be used.
Flashing the Firmware#
Connect the XTAG4 via USB to the host computer running the XTC tools, and power on the board (either via RPi or directly via USB).
On the host computer, open a XTC Tools Command Prompt.
xflash --quad-spi-clock 50MHz --factory example_ffva_ua_adec_altarch.xe --boot-partition-size 0x100000 --data example_ffva_ua_adec_altarch_data_partition.bin
Being returned to the prompt means flashing has completed, and the XTAG4 may be disconnected.
Record Captured Voice#
Open a music player on host PC, and play a stereo file.
Check music is playing through powered speakers.
Adjust volume using music player or speakers.
Open Audacity and configure to communicate with kit. Input Device: XCORE-VOICE Voice Processor and Output Device: XCORE-VOICE Voice Processor
Set recording channels to 2 (Stereo) in Device

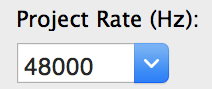
Set Project Rate to 48000Hz in Selection Toolbar.
Click Record (press ‘r’) to start capturing audio streamed from the XCORE-VOICE device.
Talk over music; move around the room while talking.
Stop music player.
Click Stop (press space) to stop recording. Audacity records single audio channel streamed from the XCORE-VOICE kit including extracted voice signal.
Click dropdown menu next to Audio Track, and select Split Stereo To Mono.

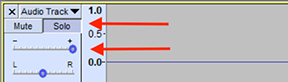
Click Solo on left channel of split processed audio. Increase Gain slider if necessary.
Click Play (press space) to playback processed audio.
Only your voice is audible. Playback music is removed by acoustic echo cancellation; voice is isolated by interference canceller; background noise is removed by noise suppression algorithms.